0755-83038515
marketing@rockspace.hk
Request Now
en
English
français
Español
русский
português
العربية
Products
Products
Photo Sticker Printer and Cutter
Screen Protector Cutting Machine
Screen Protector Film
Back Screen Protector Film
Phone Case Sublimation Machine
Phone Skin Printer
Tempered Glass Screen Protector
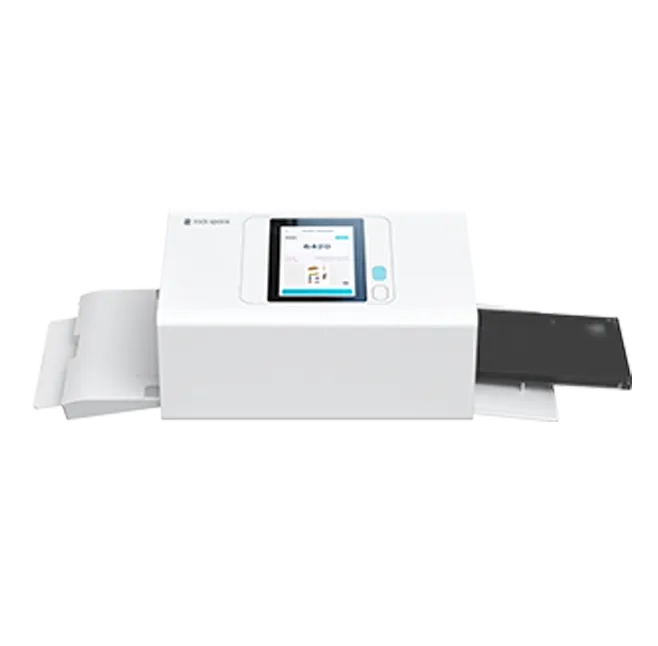
RCL1005 AI Photo Sticker Printer and Cutter
View More >
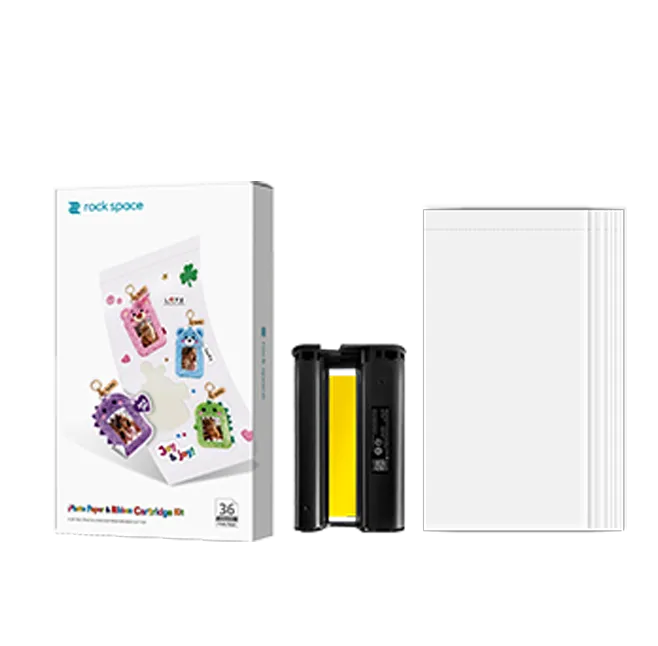
Photo Sticker Paper Set
View More >
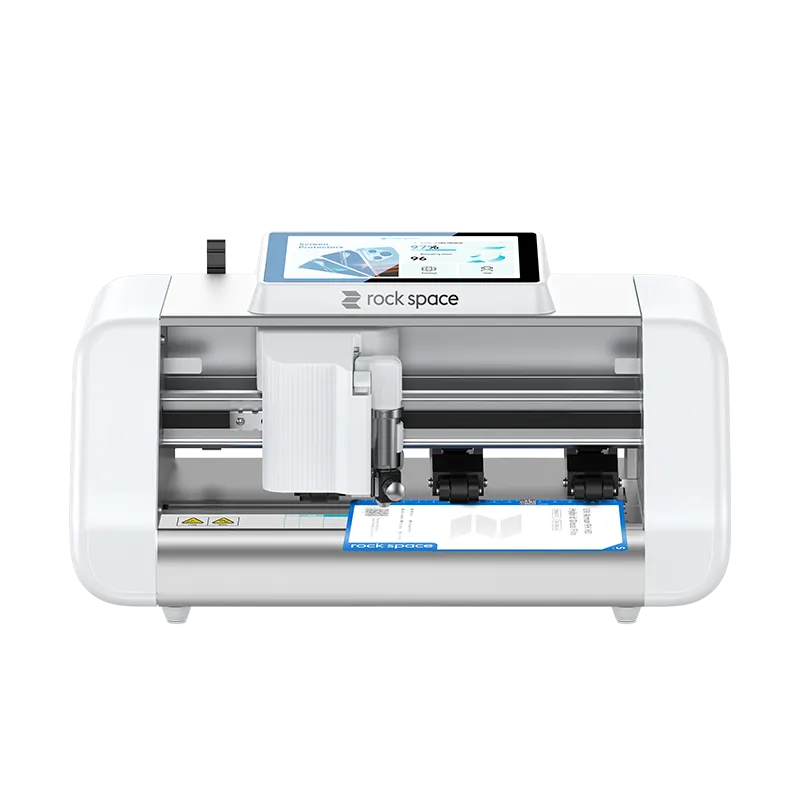
ZC1 Max Smart Plotter
View More >
ZC5 Smart Plotter
View More >
MINI ZV2 Smart Plotter
View More >
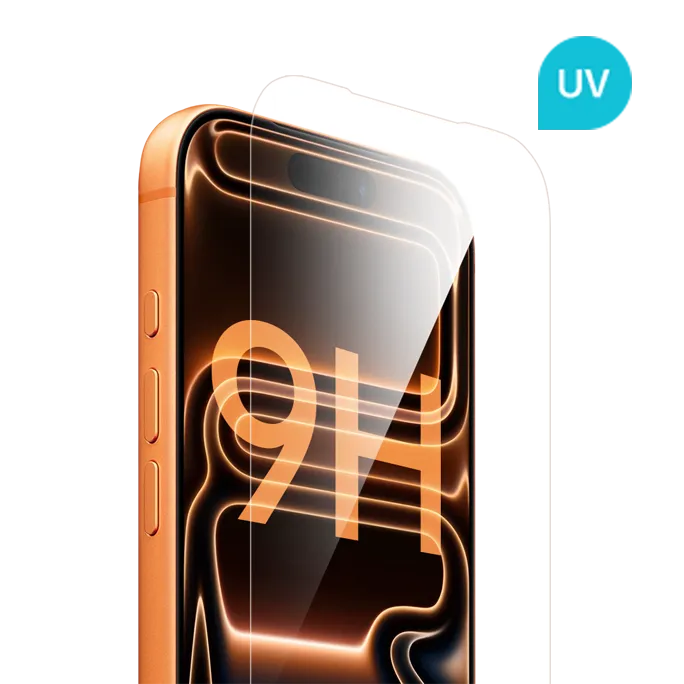
UV Armor 9H HD Hybrid Glass Film
View More >
Super Tough 7H HD Hybrid Glass Film
View More >
UV HD Glass-like Film
View More >
Flexible HD Super Self-healing Film
View More >
UV HD Anti-reflective Film
View More >
Flexible Gaming Matte Film
View More >
Flexible HD Privacy Guard Film
View More >
UV Privacy Glass-like Film
View More >
UV Matte Glass-like Film
View More >
Flexible Matte Super Self-healing Film
View More >
Flexible Anti-blue Light Eye Care Super Self-healing Film
View More >
Flexible HD Film
View More >
Flexible Matte Privacy Guard Film
View More >
Flexible Anti Blue Light Eye Care Film
View More >
Translucent Geometric Back Film
View More >
3D Embossed Translucent Back Film
View More >
Translucent Foil Back Film
View More >
Translucent Embosssing Back Film
View More >
Leather Printed Phone Back Protector Film
View More >
Smooth Leather Back Film
View More >
3D Embossed Leather Back Film
View More >
Vivid Back Film
View More >
Chromatic Back Film
View More >
Fantasy Black Phone Skin
View More >
RME1003 3D Sublimation Phone Case Printing Machine
View More >
Phone Case Sublimation Film
View More >
Phone Case Sublimation Fixture
View More >
Blank Sublimation Phone Case
View More >
DHP511 Phone Skin Printer
View More >
Mobile Phone Back Skin Sticker Paper
View More >
Tempered Glass Screen Protector Magic Box
View More >
2.5D Full-screen HD Tempered Glass Screen Protector
View More >
2.5D Full-screen Privacy Tempered Glass Screen Protector
View More >
Tempered Glass Screen Protector Applicator Tool
View More >
Camera Lens Protector
View More >
Business Solutions
Photo Sticker Printer and Cutter Solution
Screen Protector Solution
Phone Skin Solution
Phone Case Solution
Tempered Glass Screen Protector Solution
Innovation
CRM System
Gallery
R & D
About Us
Company profile
Honor & Certificates
Case Show
Support
Service
Video
Media
Company News
Blog
Become Our Partners
Contact Us
rockb2b
Search
Home
Products
Photo Sticker Printer and Cutter
Screen Protector Cutting Machine
Screen Protector Film
Back Screen Protector Film
Phone Case Sublimation Machine
Phone Skin Printer
Tempered Glass Screen Protector
Business Solutions
Photo Sticker Printer and Cutter Solution
Screen Protector Solution
Phone Skin Solution
Phone Case Solution
Tempered Glass Screen Protector Solution
Innovation
CRM System
Gallery
R & D
About Us
Company profile
Honor & Certificates
Case Show
Support
Service
Video
Media
Company News
Blog
Become Our Partners
Contact Us
rockb2b
Home
Products
Photo Sticker Printer and Cutter
RCL1005 AI Photo Sticker Printer and Cutter
Photo Sticker Paper Set
Screen Protector Cutting Machine
ZC1 Max Smart Plotter
ZC5 Smart Plotter
MINI ZV2 Smart Plotter
Screen Protector Film
UV Armor 9H HD Hybrid Glass Film
Super Tough 7H HD Hybrid Glass Film
UV HD Glass-like Film
Flexible HD Super Self-healing Film
UV HD Anti-reflective Film
Flexible Gaming Matte Film
Flexible HD Privacy Guard Film
UV Privacy Glass-like Film
UV Matte Glass-like Film
Flexible Matte Super Self-healing Film
Flexible Anti-blue Light Eye Care Super Self-healing Film
Flexible HD Film
Flexible Matte Privacy Guard Film
Flexible Anti Blue Light Eye Care Film
Back Screen Protector Film
Translucent Geometric Back Film
3D Embossed Translucent Back Film
Translucent Foil Back Film
Translucent Embosssing Back Film
Leather Printed Phone Back Protector Film
Smooth Leather Back Film
3D Embossed Leather Back Film
Vivid Back Film
Chromatic Back Film
Fantasy Black Phone Skin
Phone Case Sublimation Machine
RME1003 3D Sublimation Phone Case Printing Machine
Phone Case Sublimation Film
Phone Case Sublimation Fixture
Blank Sublimation Phone Case
Phone Skin Printer
DHP511 Phone Skin Printer
Mobile Phone Back Skin Sticker Paper
Tempered Glass Screen Protector
Tempered Glass Screen Protector Magic Box
2.5D Full-screen HD Tempered Glass Screen Protector
2.5D Full-screen Privacy Tempered Glass Screen Protector
Tempered Glass Screen Protector Applicator Tool
Camera Lens Protector
Business Solutions
Photo Sticker Printer and Cutter Solution
Screen Protector Solution
Phone Skin Solution
Phone Case Solution
Tempered Glass Screen Protector Solution
Innovation
CRM System
Gallery
R & D
About Us
Company profile
Honor & Certificates
Case Show
Support
Service
Video
Media
Company News
Invitation to IFA 2024 for Double Delight Offerings
Introducing Smart Plotter MINI ZV2: Compact Power for Every Store
Wrapping Up a Successful HKTDC Electronics Fair (Autumn Edition)!
Introducing MINI ZV1 – Your Compact Solution for Screen Protector Cutting in Phone Stores
rock space's Breakthrough Cellphone Beautify Project Wows at Gitex Dubai
rock space Shines Bright at Global Sources Consumer Electronics Show and Announces Exciting Presence at Gitex Technology Week 2023
Experience rock space Cutting-Edge “CELLPHONE BEAUTIFY”Solutions at Global Sources Hong Kong Consumer Electronics Trade Show
Introducing rock space Customized Protection Solutions for iPhone 15 Series
rock space's Innovative Back Film Solution Gains Recognition at IFA Berlin 2023
rock space received significant attention at Honor 90 Series Roadshows in Malaysia
rock space Unveils Cellphone Beautify Customization Solutions in New Video
rock space shines at Honor 90 Media Launch Event in Kuala Lumpur!
rock space's Cutting-Edge Solutions at Eletrolar Show 2023 Revolutionizes Phone Store Customization
rock space Stuns at the Vietnam International Exhibition on Electronics Products with its Advanced Customized Solutions for Phone Cases and Phone Skins
rock space Showcases its Revolutionary Mobile Phone Skin Printer at PERTUBUHAN PENIAGA TELEKOMUNIKASI MALAYSIA Exhibition
rock space Participates in the 11th China Mobile Electronics Fair with Attention-Grabbing Advantages in Customized Phone Skins
Hong Kong Spring Global Resources Consumer Electronics Exhibition: rock space Phone Skin Printer and Heat Transfer Machine Make Stunning Appearances
rock space Phone Skin Printer Became The Focus In The Women's Day Activity Held By Honor Mobile
Huawei Service Cooperates With rock space In Back Film Personalization Activities
rock space Latest Screen Protector Cutting Machine ZC3-B Is Wowing Customers As Industry's First Cutting Machine With Built-in Voice Assistant
Hong Kong Electronics Fair 2024: Presenting Our Revolutionary Cellphone Beautify Solution
rock space's Cellphone Beautify Solution Receives Acclaim at Hong Kong Electronics Fair 2024 (Spring Edition)
Join Us at the HK Global Sources Exhibition – Booth 3D10
Global Sources Consumer Electronics Show in Hong Kong
Blog
Tempered Glass Film vs Flexible Film Screen Protector
rock space Smart Plotter: Your Smart Screen Protector Cutting Solution
rock space Tempered Glass + Applicator + Storage Box: The Complete System That Boosts Store Efficiency & Profit
Maximize Mobile Store Profits: A Practical Guide to Screen Protector Cutting Machine Operations
How to Choose a Screen Protector Cutting Machine?
How to Boost Non-Ticket Revenue: On-Site Custom Sticker Printer for Tourist Attractions & Movie Theaters 2026
Sticker Printing Machine for Small Business: 4 Must-Haves
rock space New RCL1005 Sticker Printer vs DHP511 Phone Skin Printer
Mobile Screen Protector
Flexible HD Super Self-healing Film
Tablet Screen Protector
rock space Flexible Film Introduction
Laptop Screen Protector
Something You Need to Know about rock space Sublimation Phone Case Printer
Watch Screen Protector
The New Favorite of Phone Films — Hydrogel Clear Screen Protector
Digital Camera Screen Protector
The Reason Why the Mobile Phone Screen Protector Cutting Machine Market is So Hot
Why Has UV Protection Screen Guard Become the New Favorite for Cell Phone Screen Protection?
In-Depth Analysis of the Advantages of Phone Sticker Sublimation Printer
How to Properly Use Intelligent Film Cutting Plotters?
Features of Hydrogel Clear Screen Protectors
Why Have Phone Back Protectors Become a Necessity?
rock space Watch Screen Film: High-Efficiency Protection, Extend Watch Life
Advantages and Applications of rock space Smart Screen Film Cutter
Why Stores Should Choose the rock space 7H Hybrid Glass Film
TPU vs EPU vs PET, Which is the Suitable Selection for Your Shop
rock space 9H UV HD Hybrid Glass Film Define the New Standard for Screen Protection
Rock Space RCL1005: How Can a Sticker Printer and Cutter Boost Profits for Mobile Shops With Phone Beauty & Custom Stickers?
How Can the Photo Sticker Paper Set + Sticker Printer and Cutter Help Retail Stores Attract More Customers and Increase Revenue? Must-Have for B2B Merchants!
How an All in One Sticker Printer and Cutter Helps Photo Studios Grow Custom Services
AI Custom Photo Sticker Solution: A Lightweight Customer Acquisition Tool for Retail Stores
How to Use the RCL1005 Photo Sticker Printer and Cutter: Step-by-Step Operation Guide
Sticker Marketing Ideas for Retail Stores: 4 Customer Segments That Drive Repeat Purchases
How to Choose a Commercial Sticker Printer and Cutter: Key Specs to Compare
Phone Store Sticker Business: How to Profit From the Sticker Economy
Photo Sticker Business Equipment: What Small Stores Need to Start Custom Sticker Printing
Photo Sticker Printer Types Compared: Home Use VS Commercial, Desktop VS Photo Booth
Is Commercial Sticker Printing Machine Profitable in 2026? Cost & ROI Guide for Small Stores
How to Evaluate a Photo Sticker Printer and Cutter Manufacturer
Sticker Printer and Cutter Machine Price: What B2B Buyers Should Evaluate Beyond the Machine Cost
Desktop Sticker Printer and Cutter for Countertop Retail Stores: Space, Workflow, and Profit Logic
Vinyl Sticker Printer and Cutter vs. Photo Sticker Printer and Cutter: What Should Buyers Know?
Sticker Printing Machine for Small Business: Phone Shops vs Gift Shops vs Photo Studios
Custom Christmas Stickers, Phone Skins and Phone Cases for Retail Stores
Sticker Maker Machine for Business in Southeast Asia: Retail Opportunities in Malaysia, Indonesia, Thailand, and the Philippines
How to Choose a Screen Protector Cutting Machine: Size, Features, and Automatic Blade Pressure Explained
7 Real Commercial Case Studies: How a Photo Sticker Machine Drives Store Traffic
Anti-Reflective Screen Protector: Worth It? (vs Anti-Glare)
Why Zero-Inventory Custom Pet Stickers Boost Pet Store Revenue
UV Printing Machine vs Heat Transfer Machine for Phone Cases: Buying Guide
Custom Phone Case Printing Business: Start a Profitable Service
How to Use a Phone Case Sublimation Machine
Commercial vs Home Sticker Machines: Which Fits Your Business?
Privacy Screen Protector: How It Works, Types & How to Choose
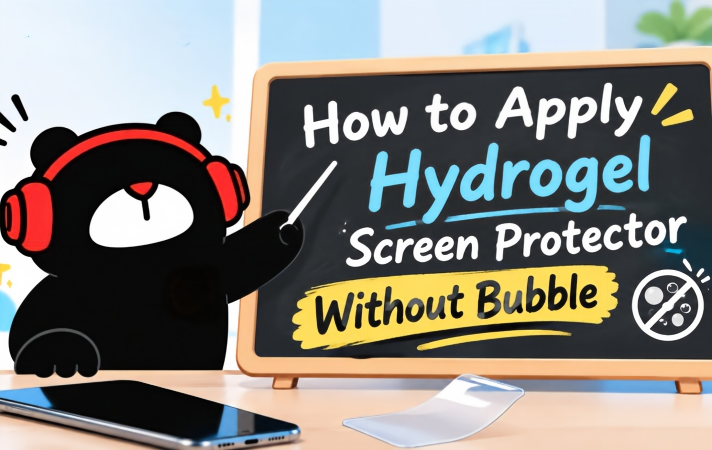
How to Apply Hydrogel Screen Protector Without Bubble: One line & Two lines
Become Our Partners
Contact Us
rockb2b
Email Us

 English
 français
 Español
 русский
 português
 العربية